
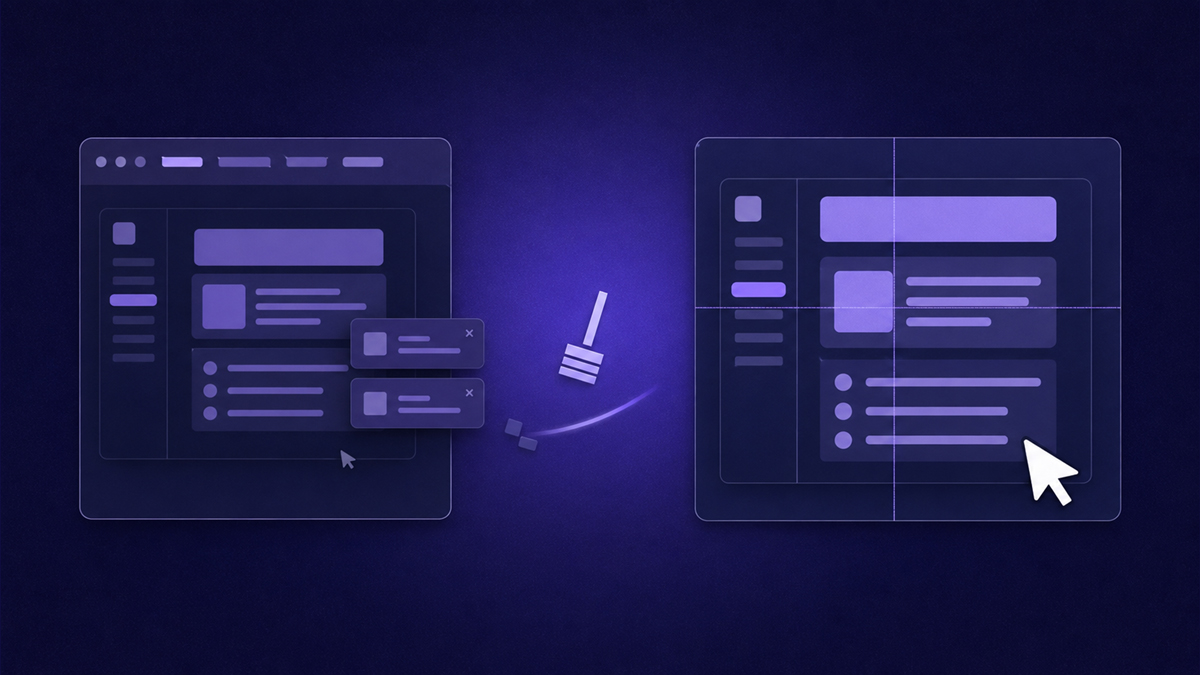
To make screen recordings look professional, fix five things viewers feel but rarely name: a clean recording environment, a cursor that moves with purpose, zero dead air, readable zoom levels on every click, and captions burned into the frame. Gear contributes surprisingly little. Nearly the entire gap between amateur and professional screencasts is preparation plus one disciplined edit pass, and this guide gives you both as checklists you can run today.
Why do some screen recordings look amateur?
Almost always for the same handful of reasons: personal bookmarks visible, notifications popping mid-click, a cursor wandering with no destination, long silent stretches while pages load, and mistakes left in the take. None of these require better hardware or editing talent to fix — they require a preparation checklist applied every single time, which is exactly what professionals substitute for talent.
Run this checklist before you hit record
Environment problems are unfixable in post-production, so front-load all of the effort here. Two minutes of setup saves a retake:
- Use a dedicated browser profile. A fresh profile with a neutral start page and no personal bookmarks removes the most common embarrassment in screencasts.
- Hide the bookmarks bar (Cmd/Ctrl+Shift+B) even in the clean profile — empty bookmarks bars look unfinished.
- Silence notifications completely: Focus on macOS, Do Not Disturb on Windows, and sign out of chat apps if needed rather than trusting statuses.
- Pick one window size and keep it for the whole session, so every scene scales identically in the edit.
- Close tabs holding sensitive data, and check the tab strip for anything you would not show a customer.
- Choose dark or light mode deliberately and stick with it — see the FAQ below for how to decide.
How should the cursor move?
Move it like you mean it: directly toward each target, pause briefly on it, click, then rest. The amateur pattern is continuous motion — circling, wiggling, hovering anxiously while talking — because the cursor becomes a distraction competing with the narration for attention. A short stillness before each click tells the viewer this is the thing, which matters more than any highlight effect you could add.
- Slow everyday mouse speed by roughly a fifth; fast feels frantic at video pace.
- Lift the cursor off the pad between actions instead of drifting.
- Never use the cursor as a pointer for reading along — move it to the element you are discussing and let go.
- If your recorder offers click highlighting, enable it subtly; heavy ripples read as gimmicky.
Pacing: kill the dead air
Stillness is where attention dies. Loading spinners, long typing stretches, and silent scrolling all read as broken video to a viewer who cannot tell whether the recording stalled or the app did. Perform your workflow briskly, narrate through transitions, and leave the compression work to the edit — our guide on removing silence and dead time covers manual trimming and automatic approaches in depth.
One pause deserves protection: the beat right after a navigation completes. Viewers need a second to register the new screen before you act on it. That is presentation, not dead air, and cutting it makes videos feel machine-gun fast without being clearer.
Zoom so the interface stays readable
Your recording plays back smaller than you recorded it — embedded players shrink frames, phones shrink them further, and sixteen-pixel labels become unreadable mush. A gentle push-in centered on each control you click restores readability without re-recording anything at higher resolution. Manual editors achieve this with keyframes around each click; modern recorders increasingly do it automatically. We compare both approaches, including ideal magnification and hold times, in how to zoom in on a screen recording.
Audio is the fastest credibility upgrade
Viewers forgive soft video; they forgive hiss, pops, and volume swings far less, because audio strain feels physical. You need no studio: pick a quiet room with soft surfaces, keep your mouth a consistent distance from the microphone, and speak slightly slower than conversation. In the edit, normalize loudness so the intro and the quiet middle match — consistent level reads as professionalism even when nobody consciously notices why.
Keyboard clacks deserve special mention in screen recordings. If your microphone sits on the desk next to the keyboard, every click becomes a percussion hit. Move the mic closer to your mouth and further from the keys, or enable any noise-suppression your recorder offers before resorting to software cleanup later.
Cut mistakes instead of restarting
Restarting after every slip is why tutorial projects die in recording. The professional habit is containment: when something goes wrong, finish the sentence, mark the mistake, and redo just that step from a known state. Tools built for workflow capture make this nearly free — in stepvideo, marking a mistake excises the last eight seconds and you keep rolling, so a ten-minute take survives three slips without a single restart. The edit pass below assumes mistakes are already flagged rather than hidden somewhere in the timeline.
The professional edit pass, in order
Work through the same sequence every time and editing stops being a craft project and becomes a routine. The order matters: structural cuts first, readability second, polish last.
- 1
Remove mistakes first
Excise every marked slip and its recovery path before touching anything else. Nothing else you do matters if a wrong click survives the final render.
- 2
Compress dead time
Trim or speed up loading waits, long typing stretches, and silent scrolling. Protect the short settling pauses after navigation — those carry comprehension.
- 3
Apply click zooms
Push in gently on each control as it is clicked and hold long enough to read the result. Check every zoom at the smallest screen you expect viewers to use.
- 4
Clean the audio track
Normalize loudness across the whole take, remove hum or hiss if present, and re-record any narration line you stumble over rather than living with it.
- 5
Burn in captions
Add word-by-word captions styled for legibility against both light and dark interfaces, then proofread them — caption typos undermine otherwise flawless tutorials.
- 6
Add identity and export
Apply your brand colors, logo, and end frame consistently so a series of videos looks like a series, then export at the highest sensible resolution for your destinations.
Captions and branding tie it together
Word-by-word captions do double duty: they serve muted and hard-of-hearing viewers, and they anchor each spoken phrase to the exact moment it applies, which reduces rewinding. Style them once — high contrast, generous size, consistent position — and reuse that style forever. Our walkthrough on adding captions to video covers the styling choices in detail.
Branding works the same way: a consistent accent color, logo placement, and end card make ten separate videos feel like one curriculum rather than ten disconnected clips. Teams producing at volume can lock these decisions in once with stepvideo's Brand Kit on the Studio plan, so every export matches without per-video effort.
When a raw clip is the professional choice
Polish has a cost, and not every recording earns it. The professional judgment is matching effort to lifespan: content that will be watched hundreds of times justifies the full checklist, while ephemeral context does not.
Frequently asked questions
Professional-looking screen recordings come from repetition of a boring checklist, not from talent or expensive equipment. Save the checklists above somewhere visible, run them on your next five recordings, and by the sixth the professional habits will simply be how you record. For the full production pipeline from planning to publishing, pair this article with our complete guide on making tutorial videos.
Frequently asked questions
What resolution should I use for screen recordings?
Record at your display's native resolution and keep the captured window a consistent size throughout the session. Readability depends more on scaling behavior than on pixel counts: uniform framing scales cleanly into any player, while mismatched sizes force awkward crops. Avoid shrinking a huge desktop into a small embed — zooming on controls matters far more than headline resolution numbers.
Does frame rate matter for screencasts?
Less than people assume. A steady thirty frames per second presents interface changes, scrolling, and clicks perfectly well; the danger is inconsistent capture, where dropped frames make motion stutter. Choose sixty only when demonstrating fast animation, dragging-heavy design tools, or gameplay. For teaching software, spend your attention budget on audio, pacing, and zooms rather than chasing higher frame rates.
Should I include a webcam bubble?
Only when your face adds teaching value — reassurance, emphasis, or a personal connection your audience expects. A bubble costs screen space, competes with the interface for attention, and demands decent lighting to avoid looking worse than none at all. If you include one, keep it small, park it in a consistent corner, and light your face from the front rather than from a window behind you.
Dark mode or light mode for recordings?
Match whichever your audience primarily uses inside the product you are demonstrating, because viewers follow along better when the video resembles their own screen. If you must choose blind, light interfaces tend to survive compression and small players with fewer artifacts, and captions stay legible more easily. Whichever you pick, never switch modes midway — mid-video theme flips read as an editing mistake.
How long is too long for a screen recording?
Past roughly three minutes of single-task instruction, completion rates fall off sharply and viewers start skimming instead of following. That does not mean delete longer material — split multi-part workflows into chapters or a series, each with its own narrow outcome. A viewer who finishes two two-minute videos learns more than one who abandons a single eight-minute take halfway through.
Should I add background music?
Usually no. Music competes with narration in exactly the frequency range where speech clarity lives, and tutorial viewers are trying to parse instructions, not relax. If branding genuinely calls for music, keep it quieter than you think necessary, duck it under speech, and confirm you hold a license that permits your distribution. Silence with a confident voiceover beats busy music every time.