
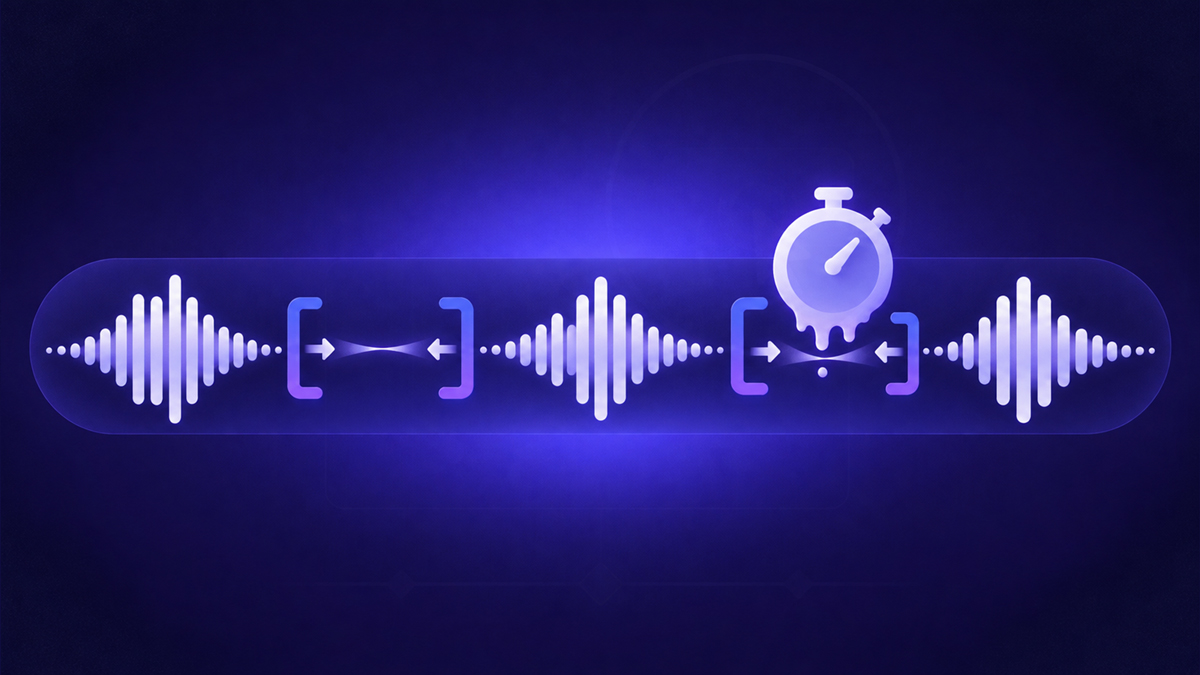
To remove silence from video properly, separate two kinds of quiet: dead time, where nothing happens and nobody speaks, and intentional pauses, where the stillness itself teaches something. Cut or speed up the first, protect the second, and the result feels twice as dense without ever feeling rushed. This guide shows the manual way to do that on a timeline, the automated way built into stepvideo, and the judgment calls that separate tight videos from choppy ones.
What counts as dead time?
Dead time is any span where the screen holds still and the narration stops: loading spinners, long typing stretches, silent scrolling, hunting through menus, and the awkward seconds after you say um before recovering. A pause that lets a new page settle for a moment is not dead time — something was just communicated, and the viewer needs a beat to receive it. The distinction matters because treating both kinds identically produces either bloated videos or frantic ones.
Why does dead air lose viewers?
Because viewers cannot distinguish a stalled recording from a stalled app. After a few seconds of unexplained stillness they assume the video froze, scrub forward to check, and land somewhere confusing enough that many never return. Even viewers who wait feel the pace drag: a screencast with generous dead air runs visibly longer than its content warrants, and length is the thing people judge before they press play. Tightening stillness is therefore the highest-leverage edit in screen recording — more than color, captions, or any other polish.
How do you cut silence manually?
You find each silent span, delete or compress it, and ripple the rest of the timeline left so audio and video stay aligned. The technique is simple; the discipline is knowing which silences to spare. Here is the working procedure most editors converge on:
- 1
Watch once at double speed
Skim the full take at 2× and note where nothing happens: loading waits, typing stretches, menu hunting, dead ends you later corrected. Timestamps now save guesswork later.
- 2
Mark each dead span
Add in and out points around every silent stretch, leaving a few frames of breathing room on each side so cuts never clip the start of speech or motion.
- 3
Ripple-delete, do not gap-delete
Use ripple delete so everything downstream slides left as one unit. Plain deletes leave holes, and closing them by hand desynchronizes narration from the screen in ways that are painful to spot.
- 4
Prefer ramps over cuts where motion continues
For spans where something visibly moves — spinners, progress bars, streaming text — speed the segment up instead of cutting it, so the transition reads as acceleration rather than teleportation.
- 5
Protect the teaching pauses
Skip any span where the stillness carries meaning: settling after navigation, a reveal the viewer should study, reading time for on-screen text. Cutting these makes videos faster and worse.
- 6
Re-watch the tightened cut end to end
Play the final version at normal speed and listen for seams: audio pops at cut points, rhythm that stutters, transitions that arrive before the previous action registered.
When should you speed up instead of cutting?
Choose a speed ramp whenever something on screen keeps moving during the dead span. Cutting a loading spinner mid-spin teleports the viewer into a new state with no visual connective tissue; playing that same spinner at three or four times speed preserves continuity while reclaiming nearly all the time. Hard cuts suit spans where genuinely nothing changed, and they carry a small risk each time: an audible pop at the seam or a jump that makes the viewer wonder what they missed.
Extreme ramp rates bring their own problem — cursor paths become comets and scroll bars blur. If a span needs eight-times speed to feel tight, ask whether it should exist in the cut at all; aggressive compression is often a symptom of a workflow that should have been rehearsed better before recording. Pairing ramps with the framing techniques in our screen recording zoom guide keeps fast passages readable.
Which pauses must survive the edit?
Keep any pause whose job is comprehension rather than waiting. The pattern to internalize: silence after an action teaches, silence before an action stalls. When a page finishes loading, the viewer needs a moment to parse the new layout before your cursor moves — cut that beat and every instruction that follows lands before the viewer has found the relevant region of screen.
- Settling after navigation — the moment a new page or view appears and registers.
- Reveals — the second a finished result, chart, or confirmation deserves undivided attention.
- Reading time — stretches where meaningful text sits on screen for the viewer to absorb.
- Emphasis — a deliberate hold after saying this part matters, which loses all force if trimmed.
Can dead-time removal be automatic?
Yes — and automation is where this edit belongs for anyone producing videos regularly. Because the stepvideo recorder captures the workflow itself, it knows what stillness means in context. Its removal pass follows three rules: stillness lasting four seconds or more plays at three times speed; spans exceeding thirty seconds accelerate up to eight times; and a pause right after navigating — up to five seconds — is protected completely, because presenting a result is teaching, not dead air.
Those thresholds are deliberately conservative. The goal is a video that feels dense rather than one that feels edited — nobody should consciously notice acceleration, they should just notice that nothing wasted their time. And because removal attaches to the recorded workflow rather than a hand-trimmed timeline, re-recording one step or reordering sections never breaks the pacing; re-render and the balance reapplies. The same take also yields a written step-by-step guide, so the tightened video and its tutorial companion stay in sync.
Trimming, speeding, or deleting: choosing per span
Each silent span deserves one of three treatments, chosen by what is happening on screen during it:
| Approach | What it does | Best for | Watch out for |
|---|---|---|---|
| Hard cut (ripple delete) | Removes the span entirely; everything after slides left | Spans where truly nothing changed — hesitations, wrong turns | Jump-cut feel and audio pops at the seam if edges are sloppy |
| Speed ramp | Plays the span faster while motion continues | Loading spinners, progress bars, typing, exports | Comet cursors at extreme rates; frantic feel past ~8× |
| Leave it alone | Preserves the pause intentionally | Settling beats, reveals, reading time, emphasis | Only works when the purpose of the pause is obvious to viewers |
Frequently asked questions
Treat dead air as a signal, not a nuisance: every long stall usually marks a place where the workflow itself could be tighter, or where a pause is doing real teaching work. Sort the silence into those two buckets, compress the first, protect the second, and your videos will run shorter while somehow feeling less rushed. That balance — density without hurry — is the entire craft of pacing a screencast.
Frequently asked questions
Will removing silence make my video feel rushed?
Not if you protect comprehension pauses and use moderate acceleration. Viewers perceive rushing when actions arrive before they have parsed the previous one, not when empty time disappears. Keep the settling beat after each navigation, cap ramp rates so motion stays readable, and watch the tightened cut once at normal speed. Done this way, videos feel denser and easier — shorter runtime with no sense of hurry.
How does silence removal affect background music?
Significantly, which is why music should always be added after tightening. Every cut or ramp changes where beats land relative to the action, so a track synced to the raw take drifts out of alignment across the edit. Compress first, then lay music against the final cut, and favor tracks without strong percussive hits that draw attention to timing mismatches at edit points.
What about pauses in voiceover narration?
Narration needs different handling than screen silence. Micro-pauses between sentences aid comprehension and should stay; long filled pauses — the ums and restarts — should go. Recording narration per step, as stepvideo does, sidesteps the problem entirely because each step's audio is written and generated fresh, leaving no room for dead air to creep in between sentences.
Should I keep an original-length copy of the video?
Often yes. Compliance reviews, training audits, and some accessibility contexts require true runtime or unedited process evidence. Archive the raw take before destructive edits, and note that stepvideo's written guide — generated from the same take with timestamps and screenshots — doubles as a durable record of what happened even when the exported video is tightened.
Does cutting silence break lip sync?
It can, if talking-head footage crosses an edit point. Screen recordings have no visible mouth to desynchronize, which is why silence removal is safest there. For mixed videos, avoid placing cuts inside spans where a face is speaking, or cut video-only during those moments. Ramp-based approaches are gentler than hard cuts, but no acceleration survives a visible mouth moving at the wrong speed.
How much silence should I leave at the start and end?
Almost none. Trim the opening to the frame before your first word or first click — the first five seconds decide whether viewers stay, and dead lead-in spends that budget on nothing. At the end, hold the final result for a beat or two so it registers, then cut. Long outro stillness reads as a frozen player and quietly erodes trust in everything before it.